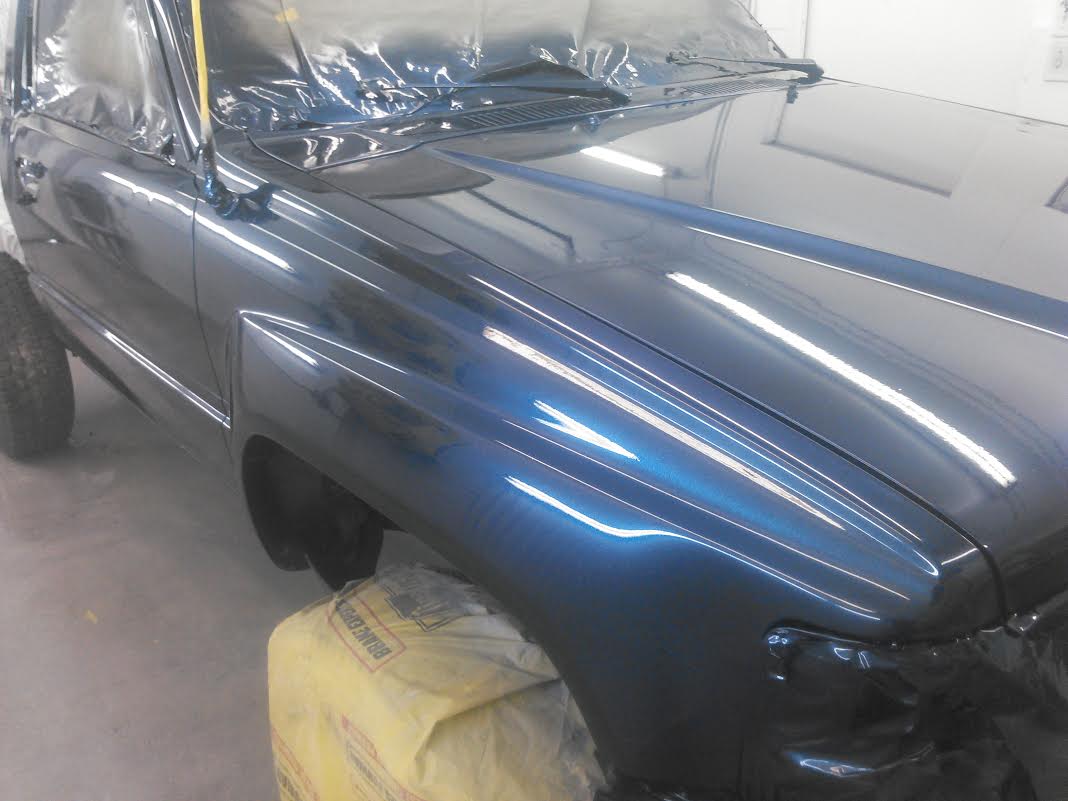
How to custom paint over existing paint. Prepping your existing paint job.
The “Scuff and Shoot” custom paint job:
This article tells you basically what you need to do if your paint is already in good condition, but you want to add a special effect pigment custom paint over existing paint.
Since prepping your existing paint is so important, we will cover it in some detail. The very first step is to remove as much of the vehicle’s hardware as you can (i.e. taillights, mirrors, side marker lights. Don’t remove something you want to paint, though. You must then mask areas that could potentially be damaged by sandpaper or scuff marks (grilles, door handles, chrome trim, rubber trim).
You must prep the entire surface of what you are painting. Use a wet-sand paper in a 600 grit or a red Scotch-Brite scrubbing pad. Remove all shine from the surface you are going to custom paint. Make the entire surface look dull. Those micro-scratches give the paint a good rough surface to adhere to.
Mask the entire project for paint. Anything that could be effected by overspray should be covered. After masking, use a cleaner to remove any wax and grease (like PPG’s dt-330) so that the project will be ready for paint. Always follow manufacturer’s instructions for use of their products. It is vital that YOU DO NOT TOUCH THE PROJECT AFTER CLEANING. If you are not painting immediately, repeat the cleaning process before paint.
Pick the products that you plan on using. Which product you use will determine the rest of the paint job. Our instructions will tell you how to custom paint with the product you have chosen. The remaining directions will differ depending on the product you have chosen.
Ghost Pearl (transparent irridecent pearls) paint job
Candy “metallic” Pearl paint job
Temperature change (thermochromic paint) paint job


hey matt i recently had my car done with your green to blue flip pearl (75 grams), but the painter have to repair 4 over spray spots on my door edges. how much pigment do you suggest i need? please reply as soon as need this repair before next week.
Probably 1 bag, unless you are repainting the entire sides. Then I would recommend 2 bags.
thanks, professional opinion what would be the best solution for me
What kind o paint are you looking for? What are you looking to do?
i want the painter to correct the over sprays on my green to blue flip (caribbean gold) paint job, i was looking for the safe way to go. I ordered 4 25 grams packs going to let him redo the entire car just incase the blending does not match
Thanks!